
最近因應 SEO 需求在將 React 專案改成 Next 架構時在圖片相關資源踩了許多雷,許多在 React 熟悉的寫法一到 Next 可能就直接報 Error。
因此以下用 SVG 與 PNG 圖檔為例來瞭解一下在這兩個框架中使用上的差異。
本文舉例皆是以
create-react-app或create-next-app的 TypeScript template 建立專案,如果是自己寫 Webpack 設定或是上述兩個 CLI 有更新則可能和本文當時的範例有差異。
直接引入
我們準備了兩張圖片,SVG 是原有的 Logo,PNG 隨意抓張圖來放即可。
現在來改一下 React 專案的 App.tsx:
import React from 'react';
import './App.css';
import LogoSvg from './logo.svg'
import LogoPng from './React-icon.svg.png'

function App() {
  return (
    <div className="App">
      <p>{LogoSvg}</p>
      <p>{LogoPng}</p>
    </div>
  );
}

export default App;
還有 Next 專案的 pages/index.tsx:
import type { NextPage } from 'next'
import styles from '../styles/Home.module.css'
import LogoSvg from '../public/vercel.svg'
import LogoPng from '../public/React-icon.svg.png'

const Home: NextPage = () => {
  return (
    <div className={styles.container}>
      <p>{JSON.stringify(LogoSvg)}</p>
      <p>{JSON.stringify(LogoPng)}</p>
    </div>
  )
}

export default Home
先來看一下 React 這邊的型別與實際畫面:
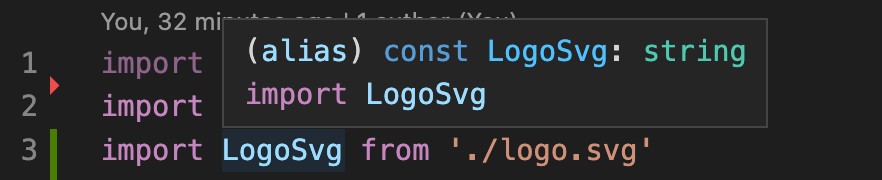
SVG
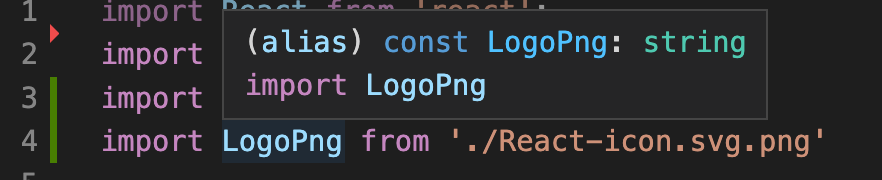
PNG
Result

都是字串。
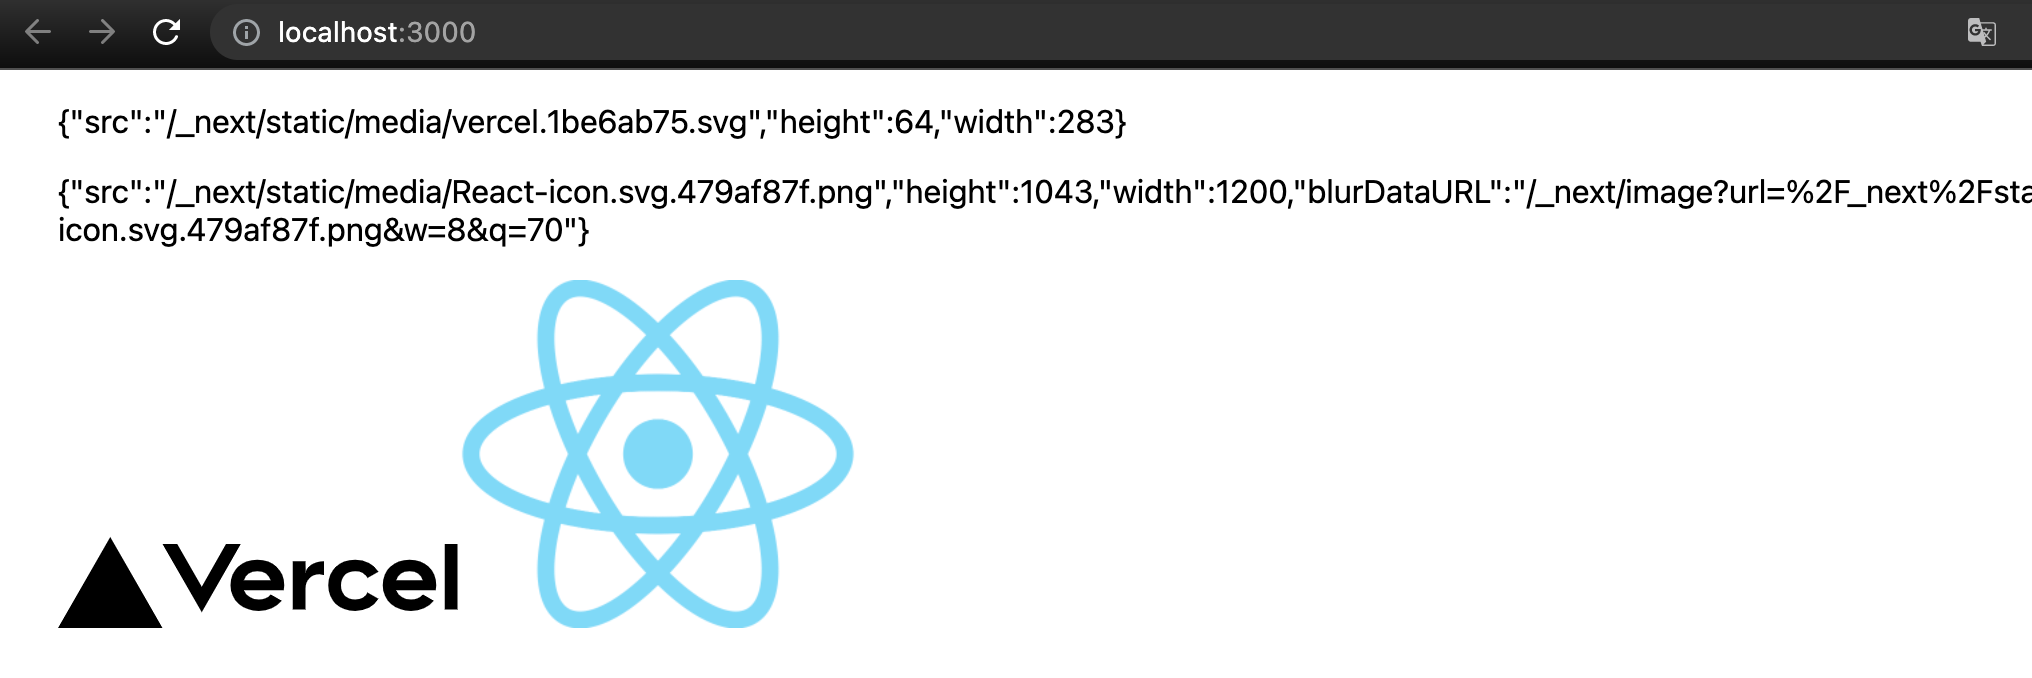
再來看 Next 這邊的型別與實際畫面:
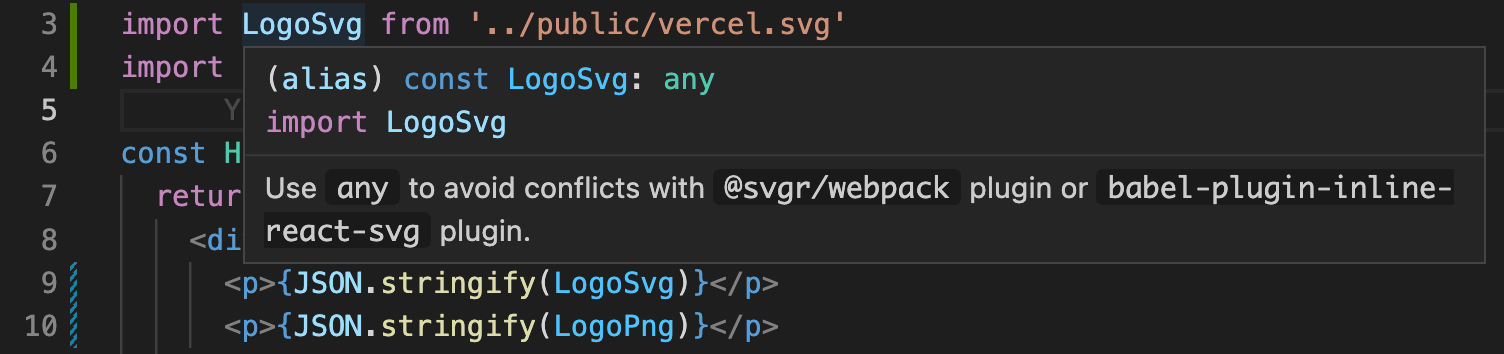
SVG
PNG

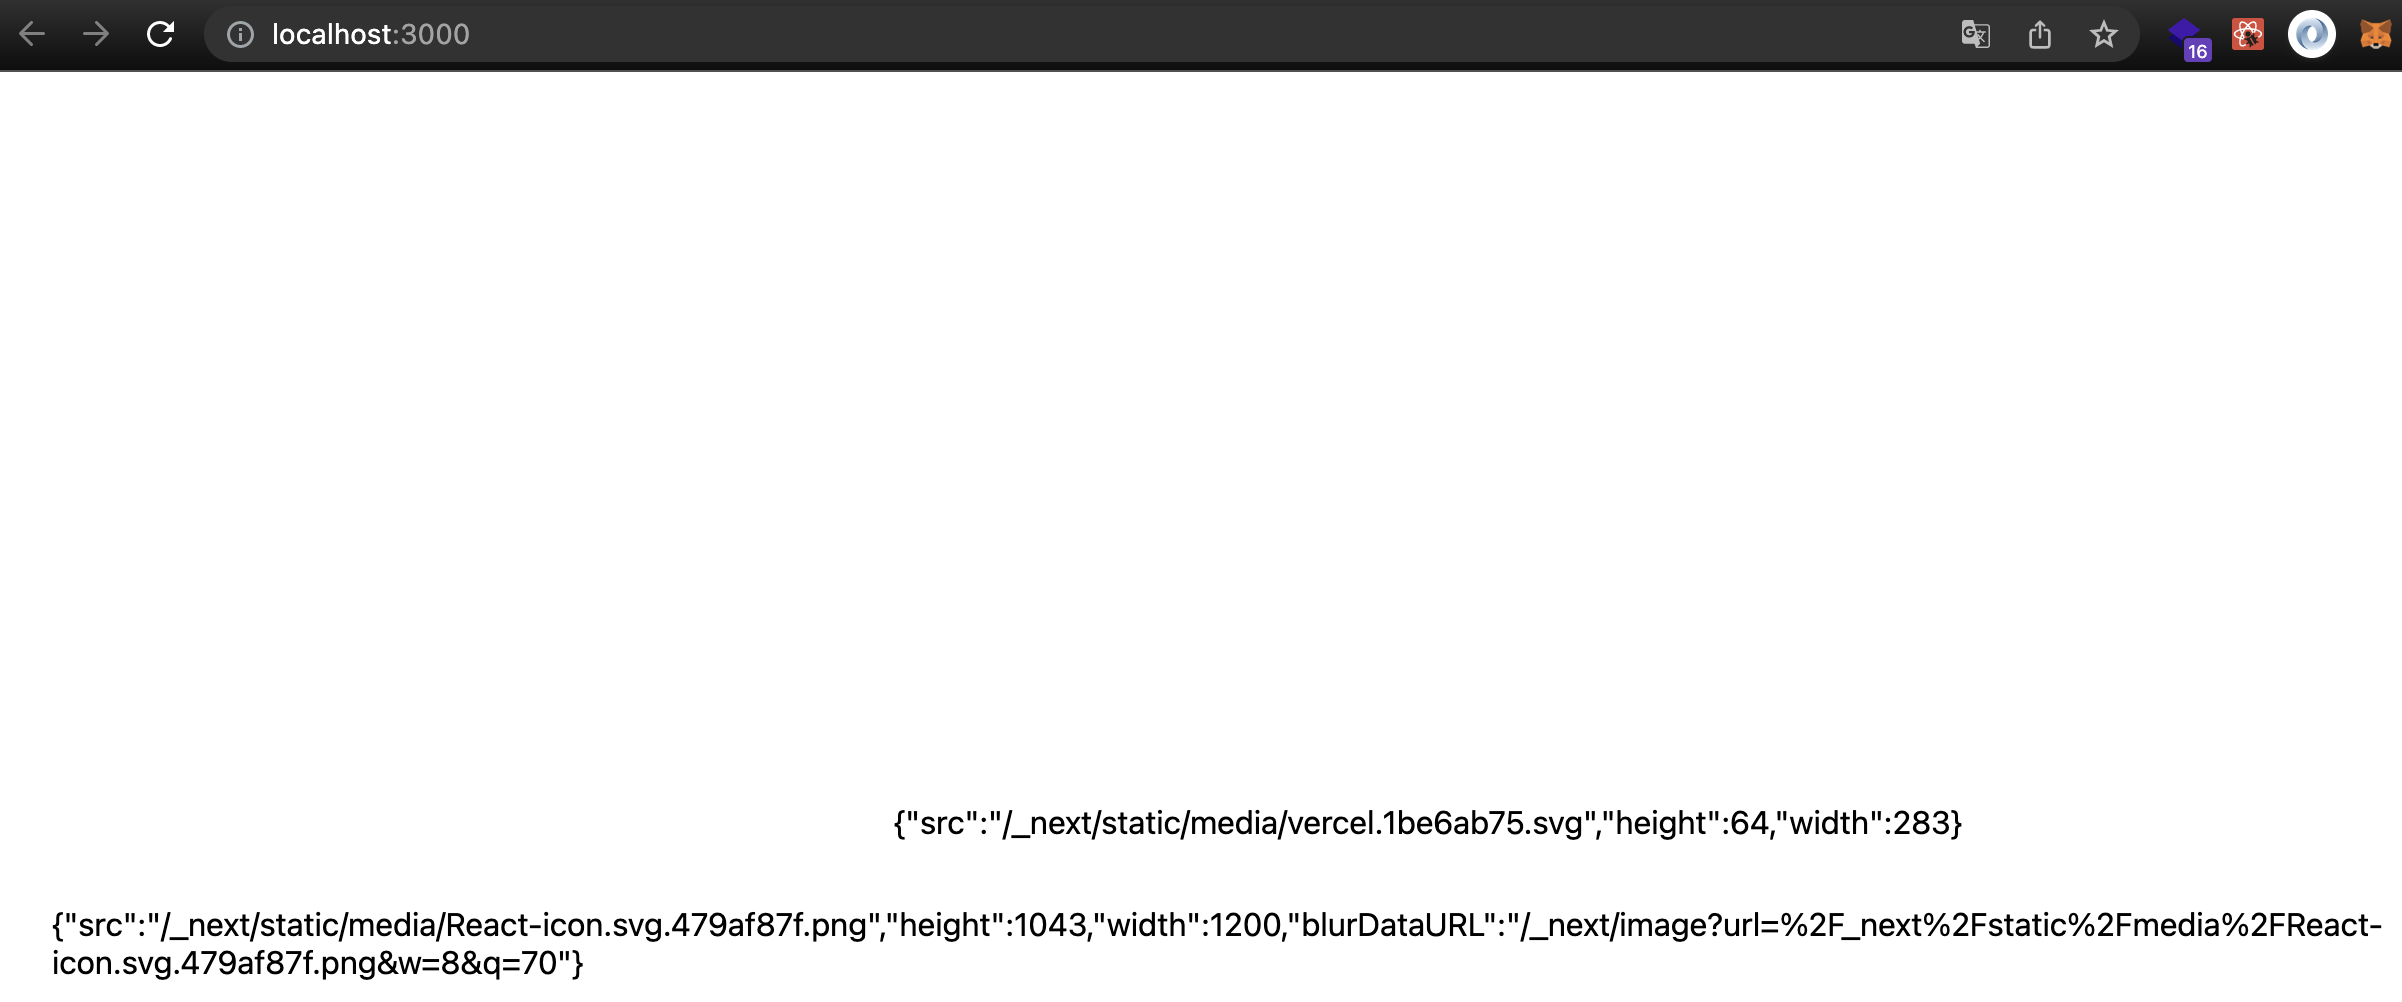
Result
由此可知 React 內直接引入 SVG & PNG 檔案時,該變數都是單純的字串對應打包後的路徑。
Next 內引入 PNG 後變數是一個型別為 StaticImageData 物件,包含 src、width、heigth 等屬性。
SVG 型別卻是 any,實際上是一個很像 StaticImageData 的物件,看型別敘述是因為怕套件衝突才設 any。
所以在 Next 中使用 img 標籤搭配引入的圖檔時需要加上 src 才可以。
在 Next 專案的 pages/index.tsx 加上:
+ <img style={{width:'200px'}} src={LogoSvg.src} alt="LogoSvg" />
+ <img style={{width:'200px'}} src={LogoPng.src} alt="LogoPng" />
就可以正常顯示圖片:
在 Next.js 中有提供 <Image> 的組件可以使用,若觀察此組件的 src 屬性所接受的型別,可發現 StaticImport 可接受 StaticImageData:
在 Next 專案的 pages/index.tsx 加上:
+ import Image from 'next/image'
...
+ <Image style={{width:'200px'}} src={LogoSvg} alt="LogoSvg" />
+ <Image style={{width:'200px'}} src={LogoPng} alt="LogoPng" />
<Image> 的組件的 src 屬性所接受的型別:

StaticImport 可接受 StaticImageData:

結果圖:

從結果圖可以發現剛設置的寬度 200px 沒有效果,關於這問題可以參考此 Stack Overflow,大意就是 Image 這個組件實際上是把 img 標籤包在其他標籤裡面,雖然 Image 會把接收到的樣式傳入並套用在 img 上,但長寬等等的屬性會被組件內部產生的屬性而被覆寫掉。所以實際上解法可以在 Image 外自己包一層 wrapper 用途的元素去限制大小。
到這邊直接引用路徑的問題解決了,那麽使用 SVG Component 的情況呢?
SVG Component
在 React 專案中可以使用以下語法來引入一個 SVG Component:
import { ReactComponent as LogoSvgComponent } from './logo.svg'
這多虧了此專案有用到 @svgr/webpack 這個套件來處理,讓我們能直接引入 SVG 檔作為一個組件。
接著就可以直接操作此 SVG Component 囉!
<LogoSvgComponent className="logo" stroke="#EAAA90" strokeWidth="1rem"/>
在 Next 專案中同樣語法則會報錯:
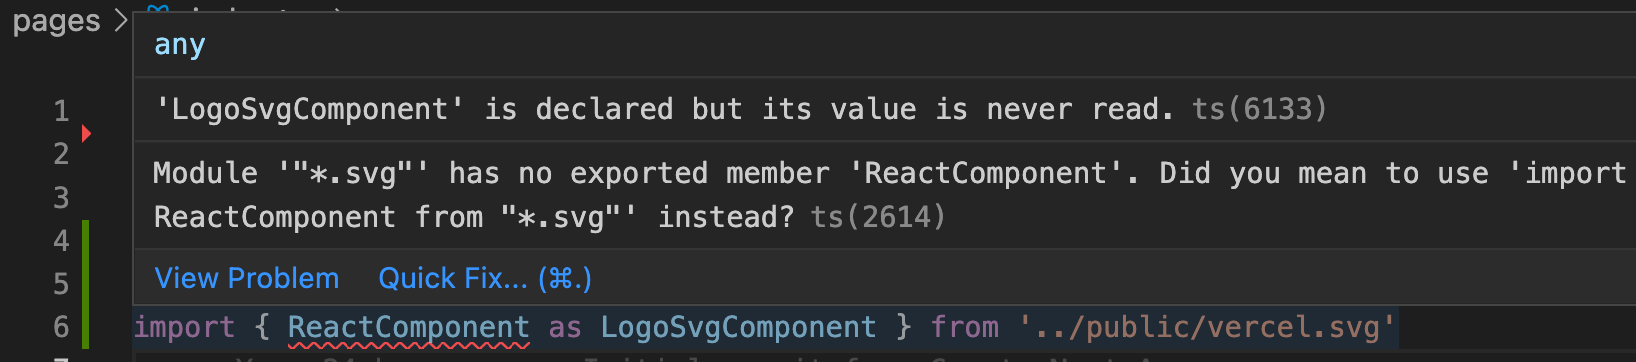
因此我們需要自己安裝 @svgr/webpack 來處理:
yarn add --dev @svgr/webpack
並在 next.config.js 中寫上 Webpack 設定:
/** @type {import('next').NextConfig} */

const nextConfig = {
  reactStrictMode: true,

  webpack(config) {
    config.module.rules.push({
      test: /\.svg$/i,
      use: ['@svgr/webpack']
    });
    return config;
  }
}

module.exports = nextConfig
上述會將引入的 SVG 檔案解析成 Component。
也因為引入後的 SVG 變數就不會是有 src 屬性的 StaticImageData 物件了,所以先把 Image 的部分都先註解。
import type { NextPage } from 'next'
import Image from 'next/image'
import styles from '../styles/Home.module.css'
import LogoSvg from '../public/vercel.svg'
import LogoPng from '../public/React-icon.svg.png'

const Home: NextPage = () => {
  return (
    <div className={styles.container}>
      <p>{JSON.stringify(LogoSvg)}</p>
      <p>{JSON.stringify(LogoPng)}</p>
      {/* <img style={{width:'200px'}} src={LogoSvg.src} alt="LogoSvg" /> */}
      {/* <img style={{width:'200px'}} src={LogoPng.src} alt="LogoPng" /> */}
      {/* <Image style={{width:'200px'}} src={LogoSvg} alt="LogoSvg" /> */}
      {/* <Image style={{width:'200px'}} src={LogoPng} alt="LogoPng" /> */}
      <LogoSvg className="logo" stroke="#EAAA90" strokeWidth="1rem" />
    </div>
  )
}

export default Home
然後就可以直接使用,結果會是這樣: (strokeWidth 太粗 XD)

在 Next.js 同時使用 SVG Component 與 Asset Path
推薦直接看 @svgr/webpack 官方文檔,有兩個方法。
其中明確說明 url-loader 與 file-loader 在 Webpack v5 被棄用,所以建議使用 resourceQuery 的方法。
根據官方推薦的 resourceQuery 方法,改寫一下 next.config.js 的 Webpack 設定:
...
webpack( config ) {
  config.module.rules.push( {
    test: /\.svg$/i,
    issuer: /\.[jt]sx?$/,
    resourceQuery: { not: [ /url/ ] }, // exclude react component if *.svg?url
    use: [ '@svgr/webpack' ],
  }, {
    test: /\.svg$/i,
    type: 'asset',
    resourceQuery: /url/, // *.svg?url
  } );

  return config;
}
...
以上主要是將路徑是 *.svg?url 的檔案解析成 Asset
接著我們在 pages/index.tsx 加上:
+ import LogoSvgUrl from '../public/vercel.svg?url'
然後就會報錯 XD:
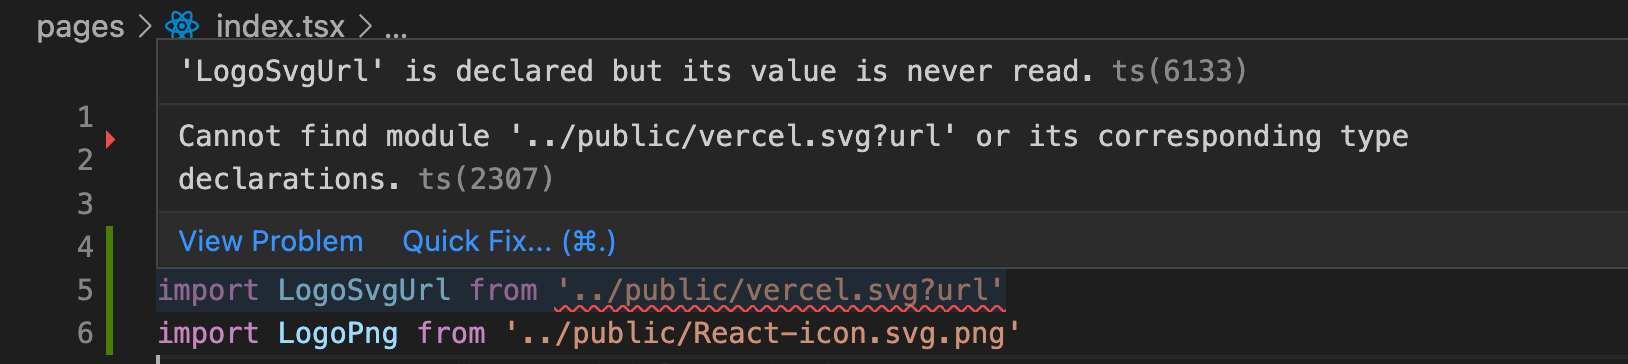
根據錯誤訊息,我們需要定義此 module 的型別。
我們新增一個 global.d.ts 檔案並寫上:
declare module '*.svg?url' {
  const defaultExport: string;
  export default defaultExport;
}
將此路徑解析的結果設定為字串型別。
接著在 pages/index.tsx 加上:
+ <p>{LogoSvgUrl}</p>
+ <img style={{width:'200px'}} src={LogoSvgUrl} alt="LogoPng" />
結果如下圖:
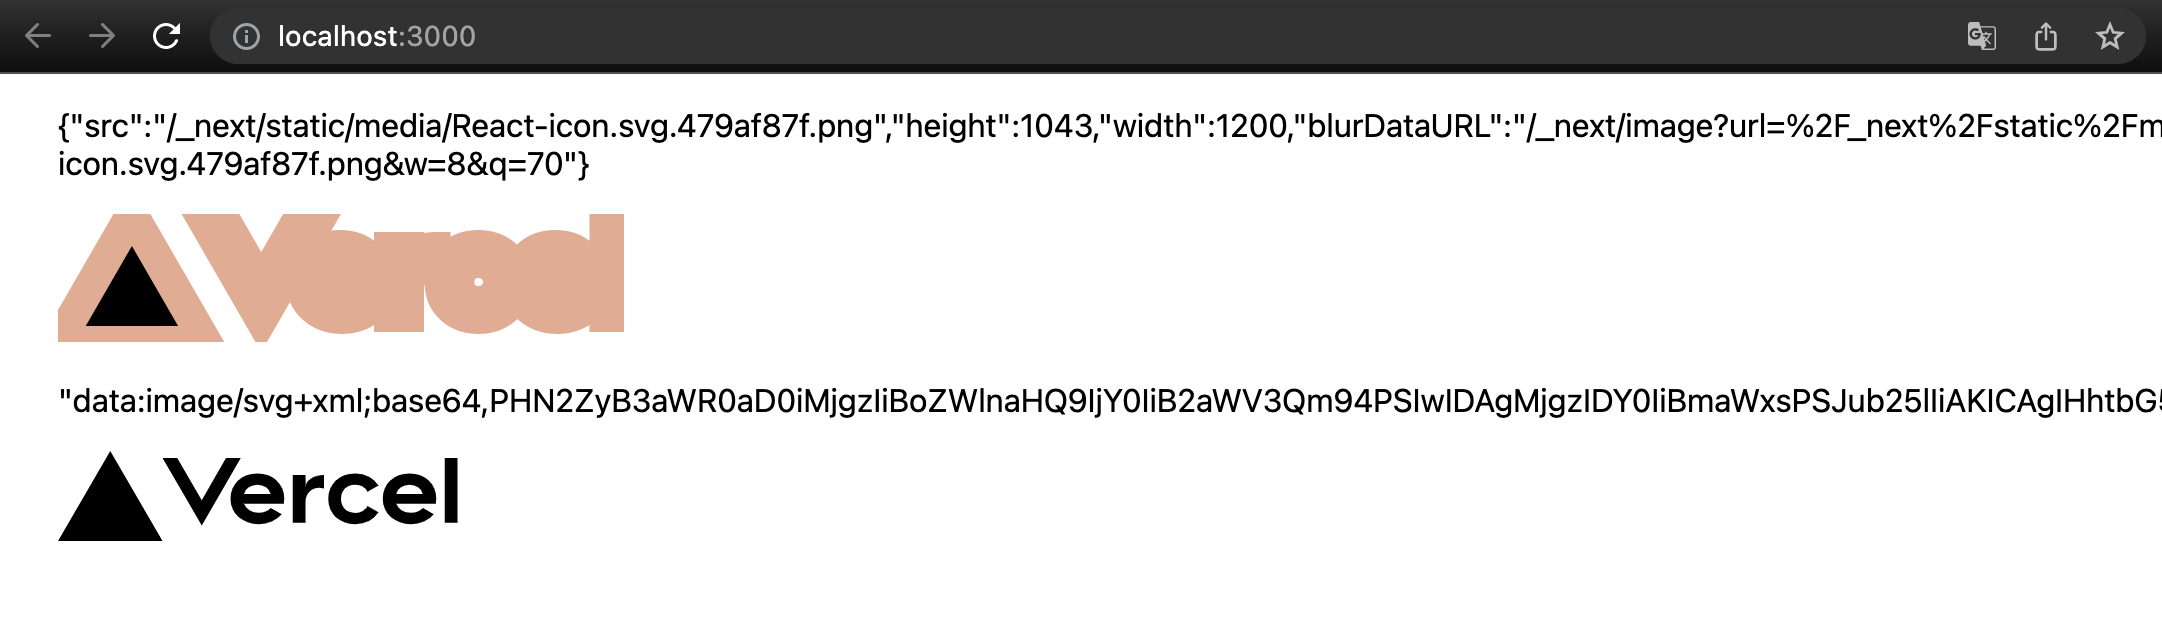
我們可以看到引入後實際上是 Base64 的字串。
但如果使用到 Next 內建的 <Image> 組件的話:
+ <Image src={LogoSvgUrl} alt="LogoPng" />
則會因為缺少長寬設定而報錯:
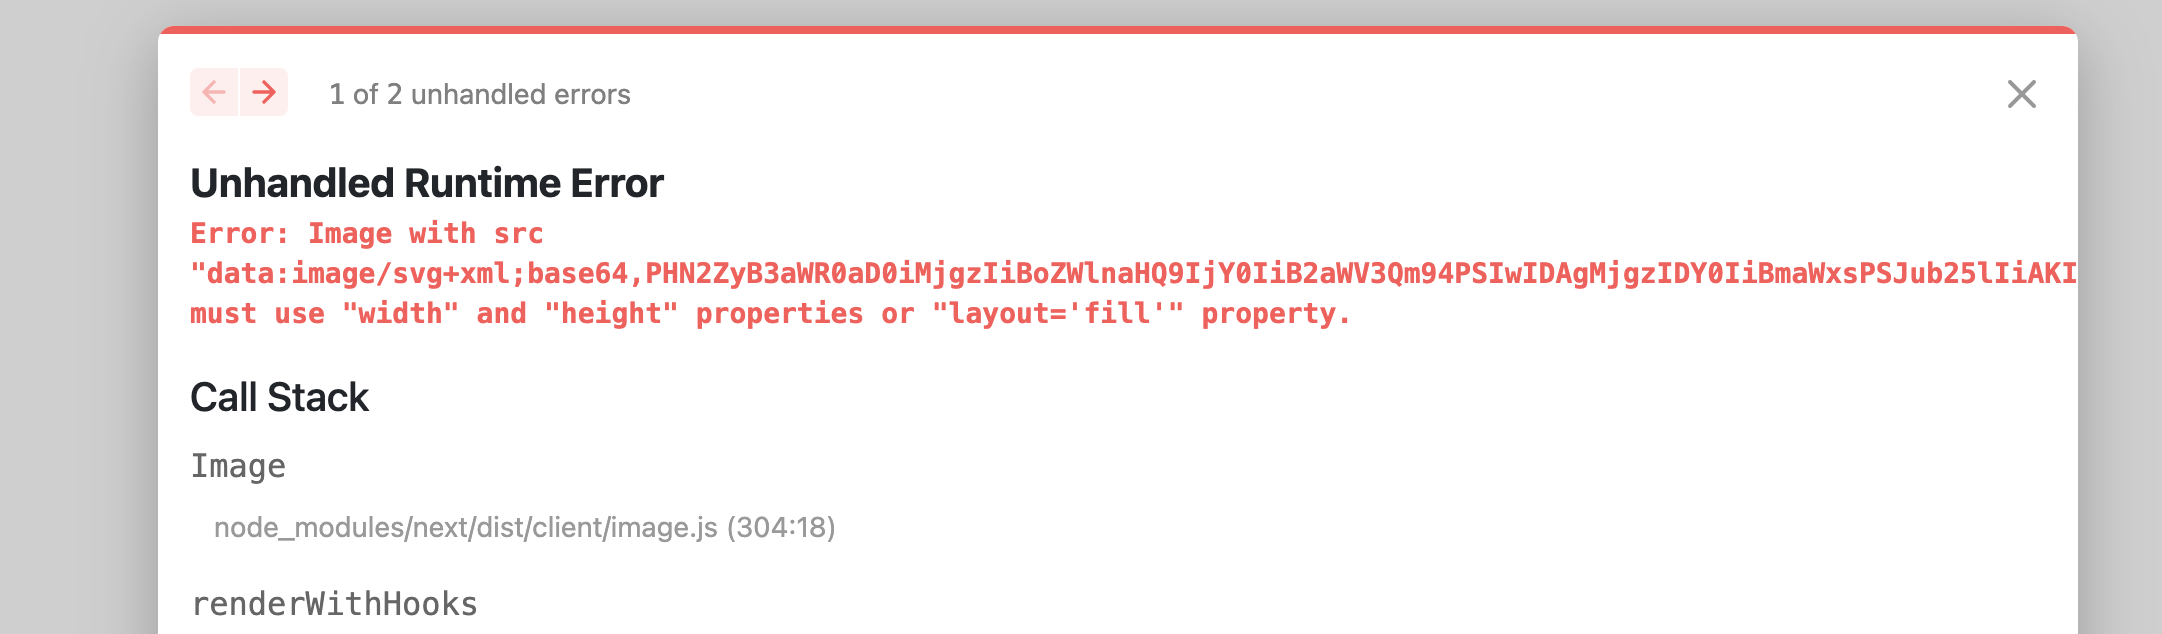
這時依照錯誤訊息指示補上長寬或 layout='fill' 即可:
- <Image src={LogoSvgUrl} alt="LogoPng" />
+ <Image src={LogoSvgUrl} alt="LogoPng" width="200" height="200" />
到這邊雖然能在 Nextjs 使用引入 SVG Component 與 SVG Asset,但使用上與檔案解析跟使用 React 時有落差:
- 要用做 Asset 引入 SVG 得要在路徑後面加
?url。 - 以 Asset 引入 SVG 後實際上得到的是 Base64 字串,與在 React 得到的打包後路徑字串不一樣。
優化 - 在 Next 使用 SVG 方式與在 React 一樣
為了達成標題的目的,找了下 Create React App 的 source code,參考他們 Webpack 打包時的設定。
他們處理 SVG 的設定其實就是 @svgr/webpack 官方文檔 中提到因為 url-loader 與 file-loader 在 Webpack v5 被棄用所以較不推薦的方法。
至於 SVG module type 設定在 React 中如下圖,等等我們需要這段:
接著實作,先安裝 file-loader (記得 @svgr/webpack 也要裝)
yarn add --dev file-loader
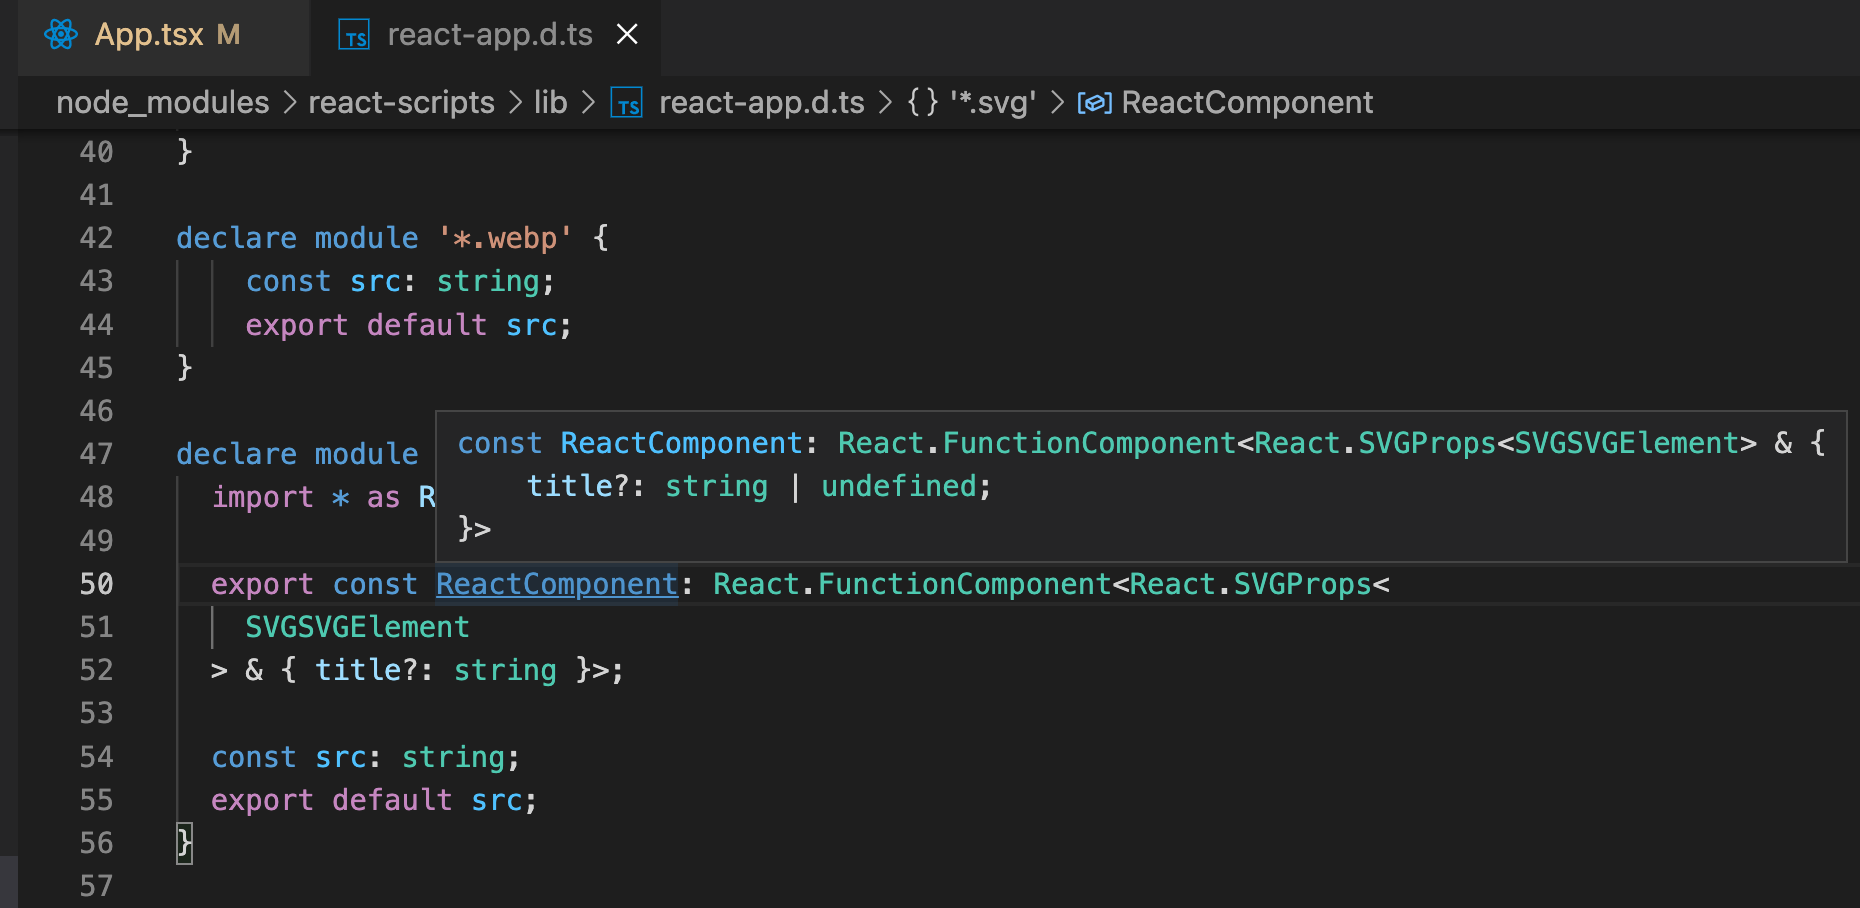
將 global.d.ts 改成:
declare module '*.svg' {
  import * as React from 'react';

  export const ReactComponent: React.FunctionComponent<React.SVGProps<
    SVGSVGElement
  > & { title?: string }>;

  const src: string;
  export default src;
}
我們把 Next 專案的 pages/index.tsx 改成:
import type { NextPage } from 'next'
import Image from 'next/image'
import styles from '../styles/Home.module.css'
import logoSvg, { ReactComponent as LogoSvg } from '../public/vercel.svg'

const Home: NextPage = () => {
  return (
    <div className={styles.container}>
      <img src={logoSvg} alt="logoSvg" />
      <Image src={logoSvg} alt="logoSvg" width={200} height={200} />
      <LogoSvg className="logo" stroke="#EAAA90" strokeWidth="1rem" />
    </div>
  )
}

export default Home
結果如圖:
需要注意 <Image> 若不是 StaticImageData 的物件的話,必須要加長寬或 layout='fill' 的設定。
到這邊算是讓兩邊在使用 SVG 的體驗上一致了。
但因為 Next 本身對於圖檔的處理邏輯本身就和 React 不一樣,所以最後再調整另個版本:直接引入 SVG 的話就會是 StaticImageData 物件以保持 Next 原本的邏輯。
優化 Final - 在 Next 中使用 SVG Component 且不影響原本引入邏輯
首先將 SVG module 型別保留 ReactComponent:
declare module '*.svg' {
  import * as React from 'react';

  export const ReactComponent: React.FunctionComponent<React.SVGProps<
    SVGSVGElement
  > & { title?: string }>;
}
Webpack 設定部分改成:
/** @type {import('next').NextConfig} */

const nextConfig = {
  reactStrictMode: true,
  webpack( config ) {
    config.module.rules.push( {
      test: /\.svg$/,
      issuer: /\.(ts|tsx|js|jsx)$/,
      use: [
        {
          loader: require.resolve('@svgr/webpack'),
          options: {
            ref: true,
          },
        },
        {
          loader: 'next-image-loader',
          options: {
            isServer: config.name === 'edge-server' || config.name === 'server',
            isDev: config.mode === 'development',
            basePath: "",
            assetPrefix: "",
          },
        },
      ],
    });

    return config;
  }
}

module.exports = nextConfig
做法上就是把 file-loader 改成 Next 原本使用的 Loader,為此跑去翻了 Next.js 的程式碼發現是用到 next-image-loader。
參數部分是參考這邊
使用範例:
import type { NextPage } from 'next'
import Image from 'next/image'
import styles from '../styles/Home.module.css'
import logoPng from '../public/React-icon.svg.png'
import logoSvg, { ReactComponent as LogoSvg } from '../public/vercel.svg'

const Home: NextPage = () => {
  return (
    <div className={styles.container}>
      <div>
        <h1>Import SVG</h1>
        <code>{JSON.stringify(logoSvg)}</code>
        img: <img src={logoSvg.src} alt="logoSvg" />
        Image: <Image src={logoSvg} alt="logoSvg" />
        Component: <LogoSvg className="logo" stroke="#EAAA90" strokeWidth="1rem" />
      </div>
      <div>
        <h1>Import PNG</h1>
        <code>{JSON.stringify(logoPng)}</code>
        img: <img src={logoPng.src} alt="logoPng" />
        Image: <Image src={logoPng} alt="logoPng" />
      </div>
    </div>
  )
}

export default Home
畫面呈現結果:
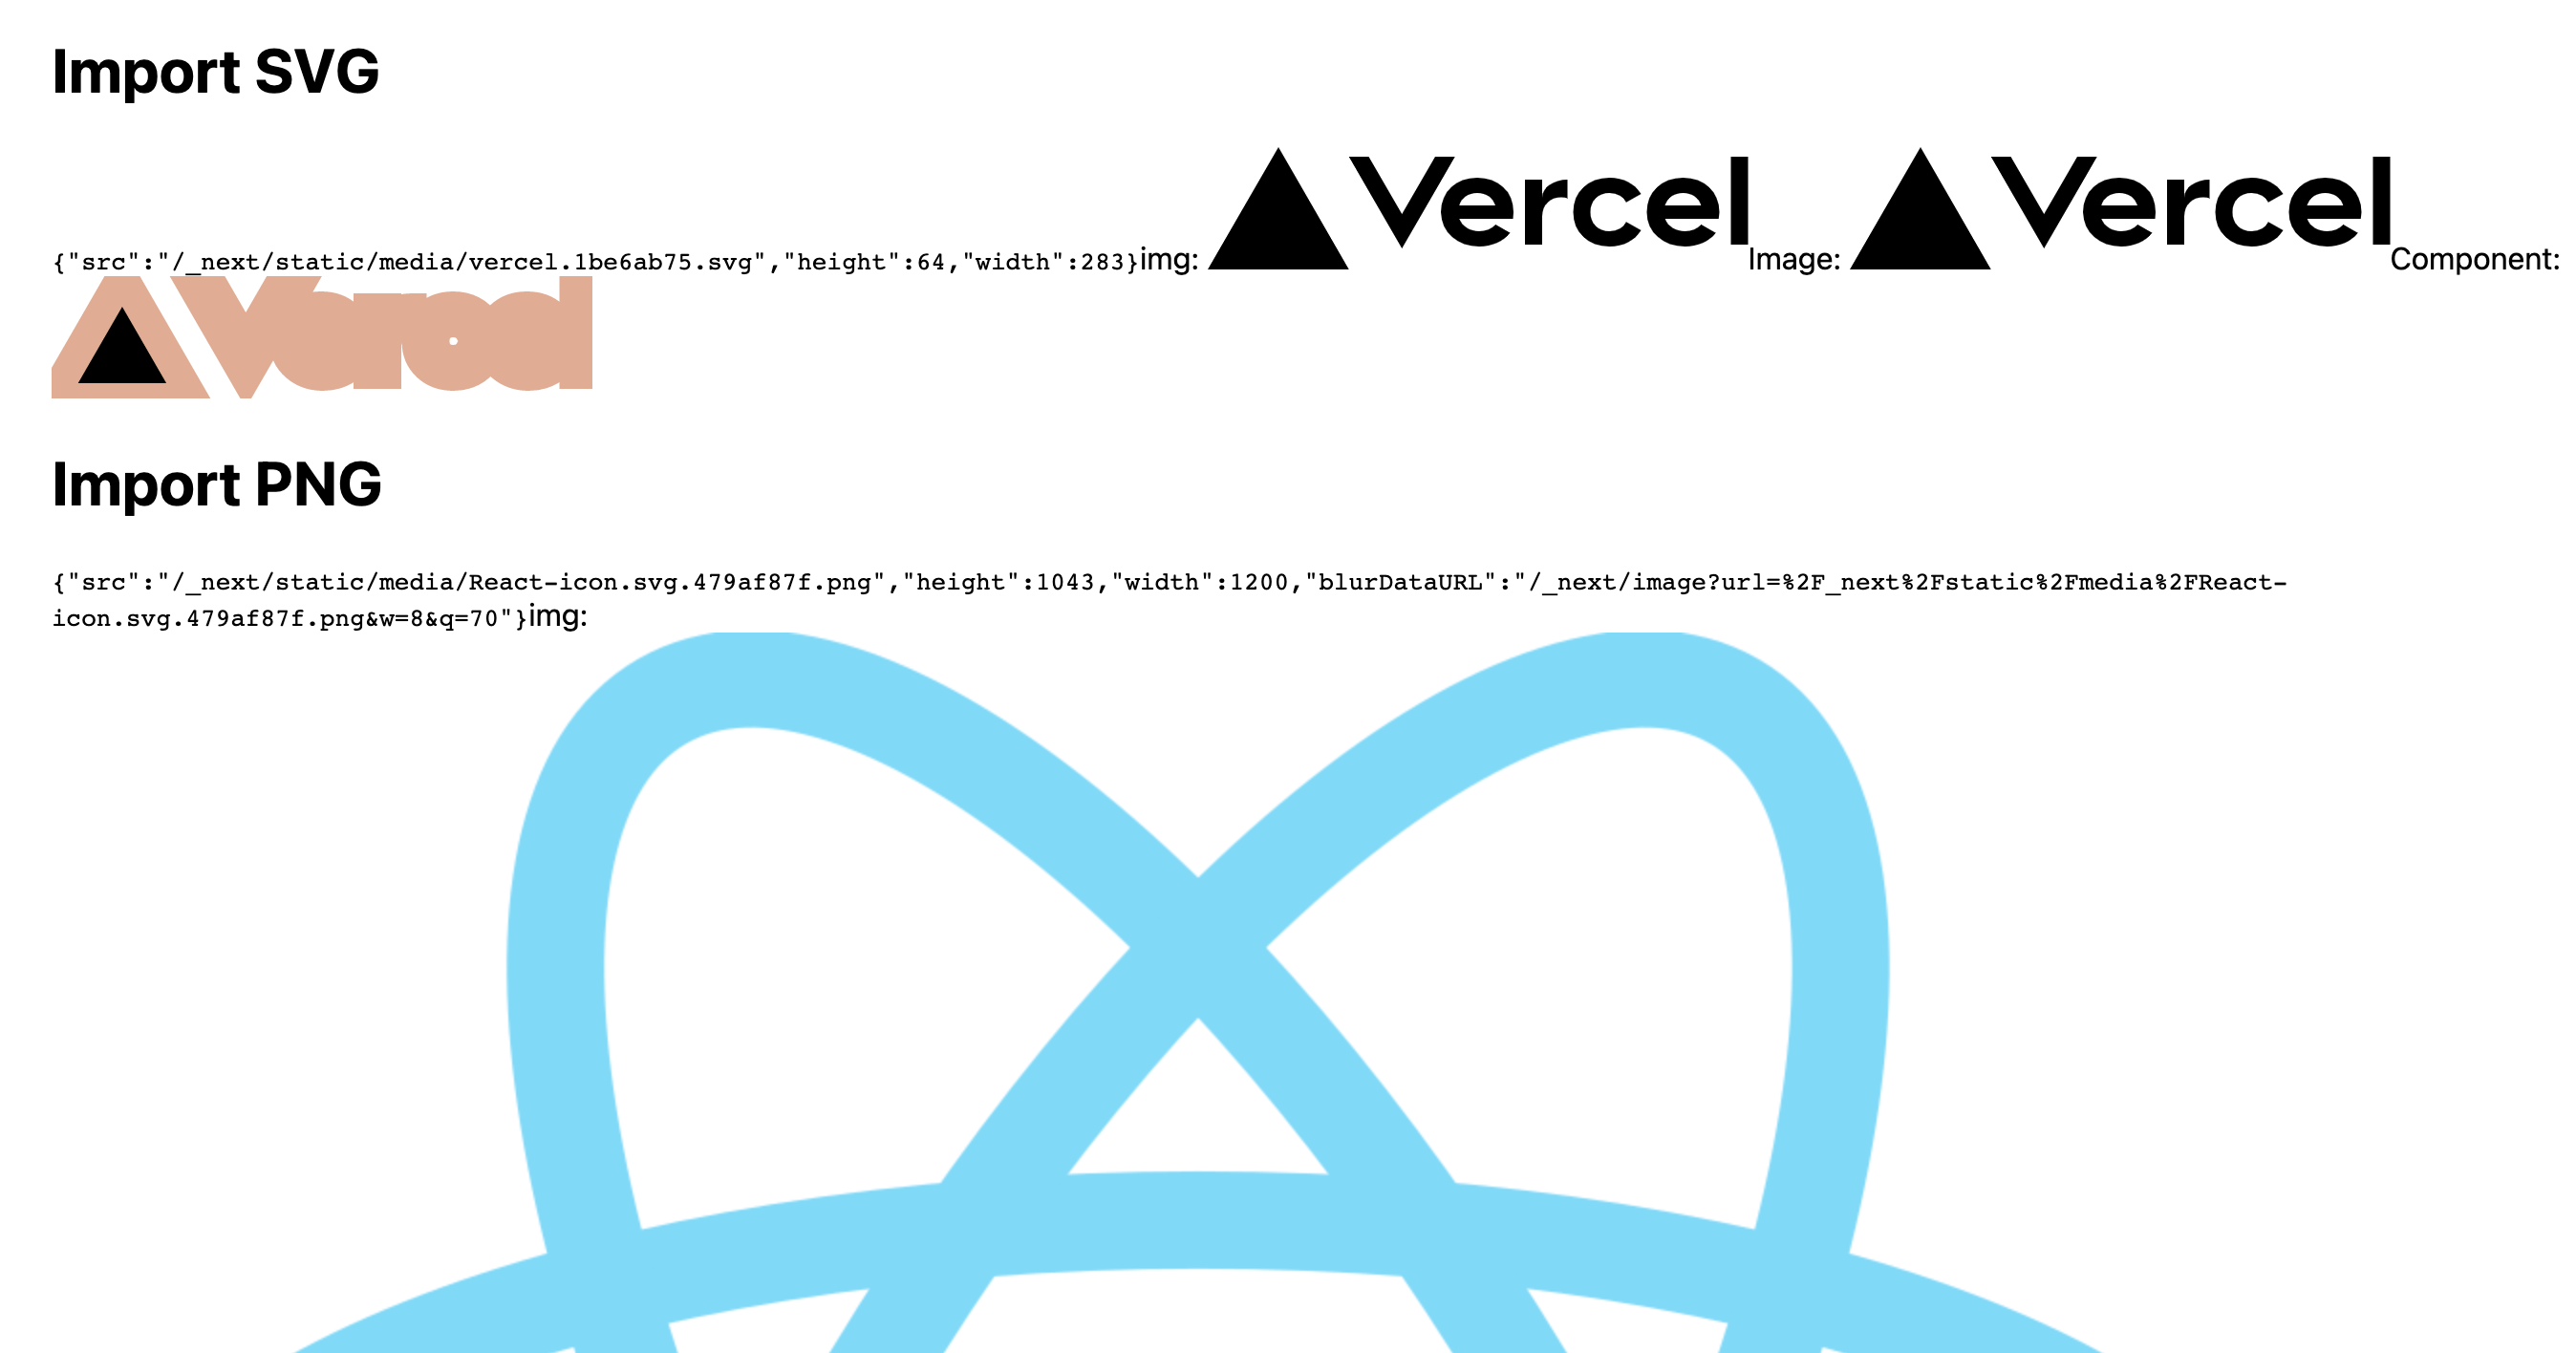
最終程式碼可以在此觀看。